How to Make the 4 Colored Buttons Work in StbEmu
A detailed explanation on how to make the 4 colored buttons work in the IPTV app StbEmu.

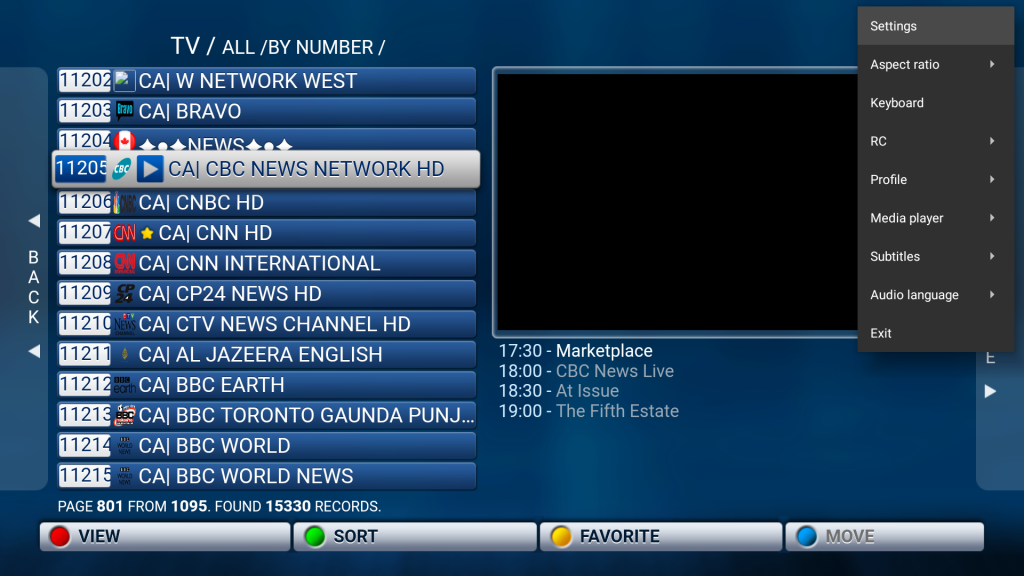
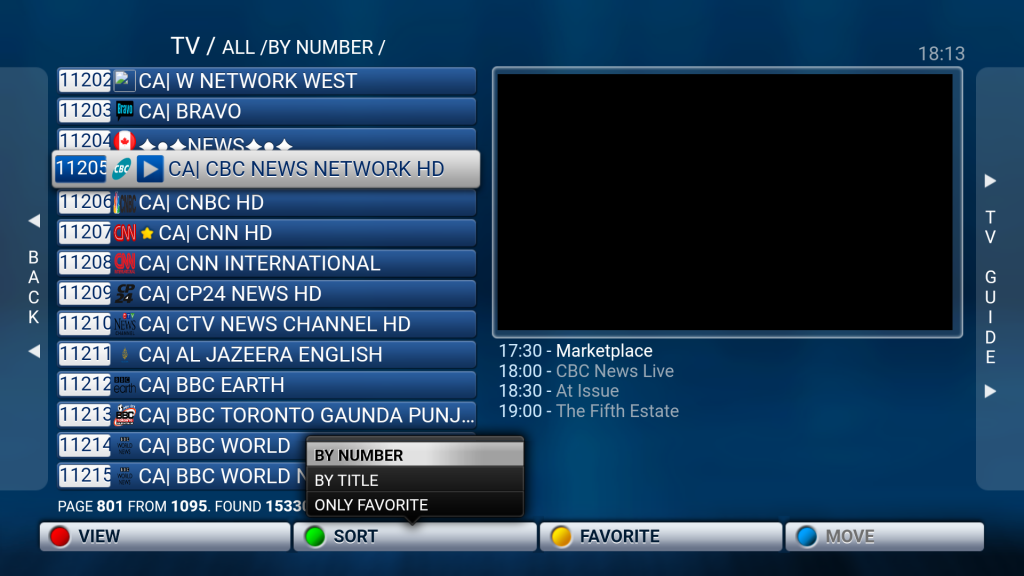
StbEmu is the de facto app for watching IPTV programs. It emulates legacy IPTV set-top-box devices (like MAG 250), which use 4 colored buttons (red, green, yellow, blue) for various functions. In the screen above, for example, RED is for view options, GREEN is for sort options, and YELLOW is for add/remove favorite channels). When StbEmu is running on an Android TV box, how to make the 4 color buttons work?
Colored Buttons Work Perfectly in HOMETEQ TV Boxes
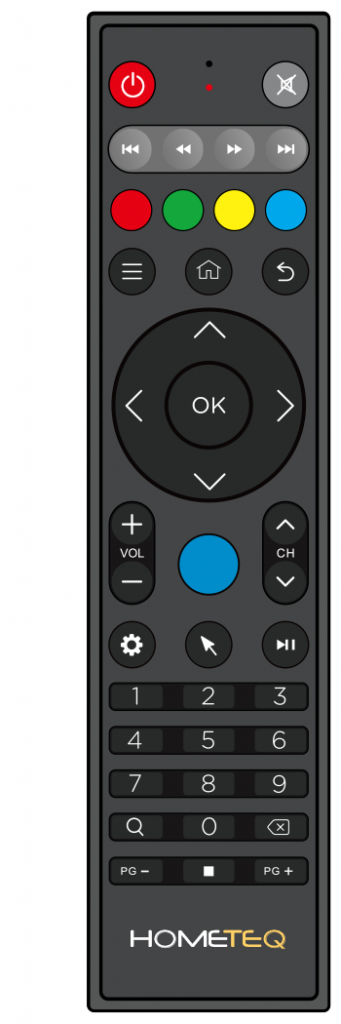
If you have a TV box from HOMETEQ (such as our A95X F3 SLIM), you are in luck. Our TV boxes come with a remote control that looks like the picture on the right and the 4 colored buttons work perfectly in StbEmu. This is one of the reasons that make our TV boxes bests suited for IPTV. In addition, our TZ21-M Voice Air Mouse Remote Control and MX3-MQ Voice Air Mouse Remote Control with Mini Keypad also have working colored buttons.
Colored Buttons Either Don’t Exist or Don’t Work in other TV Boxes

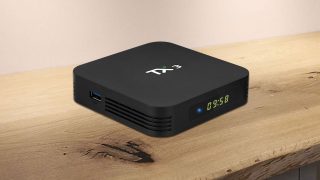
If your TV box is not from us, your remote control may not have the 4 colored buttons. Even if it does, they may be for other functions. For example, if you have a remote control similar to the picture on the left, the 4 colored buttons would likely open the default media player app, the default music player app, the default web browser, and the app drawer, respectively. In order for the colored buttons to work in StbEmu natively, the Android system must interpret their input as PROG_RED, PROG_GREEN, PROG_YELLOW, PROG_BLUE keycodes. But most factory stock firmware does not actually enable the 4 PROG_ keycodes, let alone accept them.
Solution: Mapping Other Buttons As the Colored Buttons in StbEmu
Fortunately, StbEmu allows you to map other buttons to the colored button functions. And you can use the same key mapping feature to reach other functions not available on your remote control, too.
The following step-by-step instructions show you how to map the ⏮ PREV button to the green button function:
(1) Go to menu
Press MENU to display the menu at the top right corner, then press OK to enter Settings.
(2) Choose Configure Key Maps under Settings
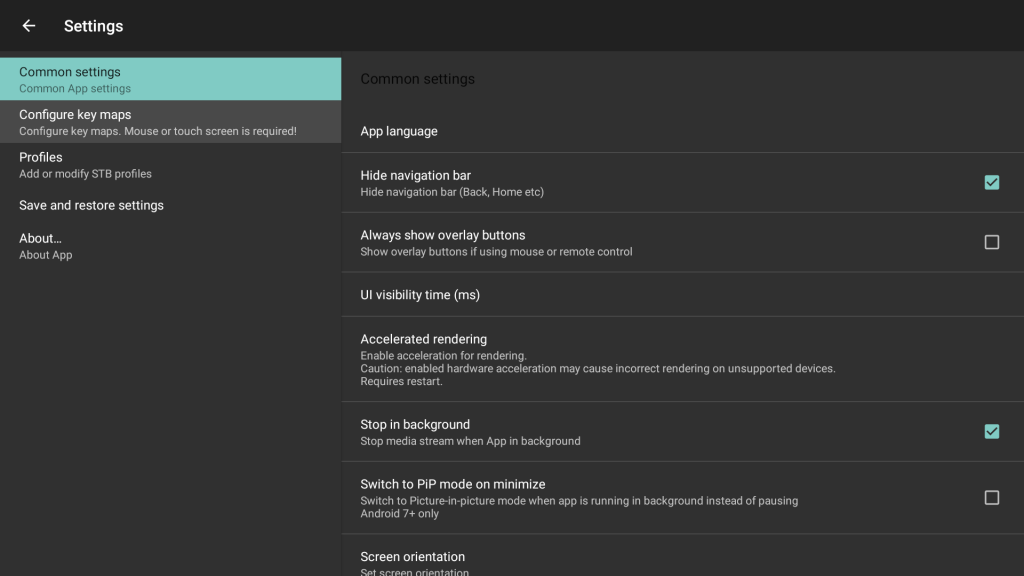
Use DOWN to highlight Configure key maps, then press OK to open the keymap.
(3) Choose Add Key in Keymap
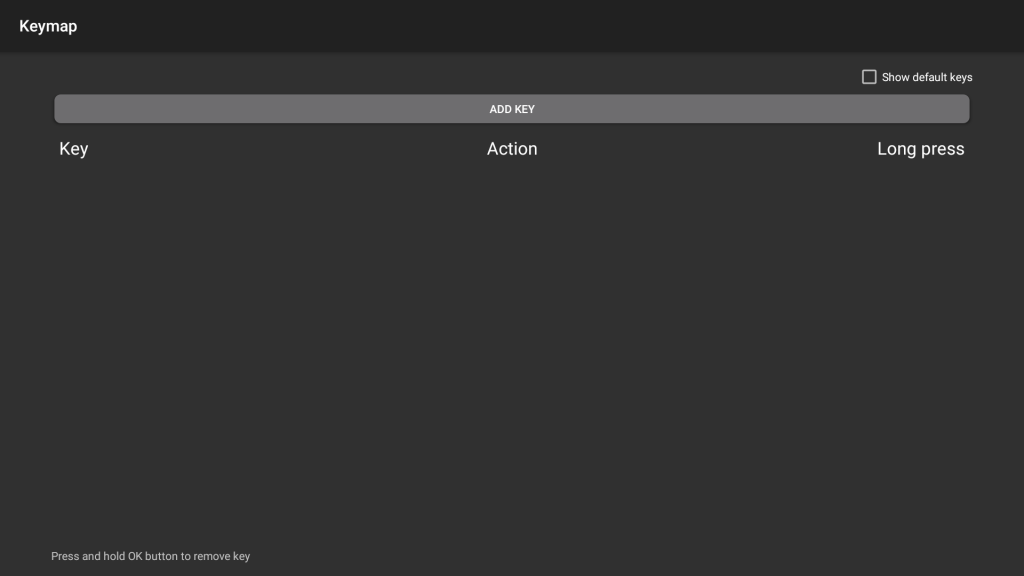
Use DOWN to highlight ADD KEY, then press OK.
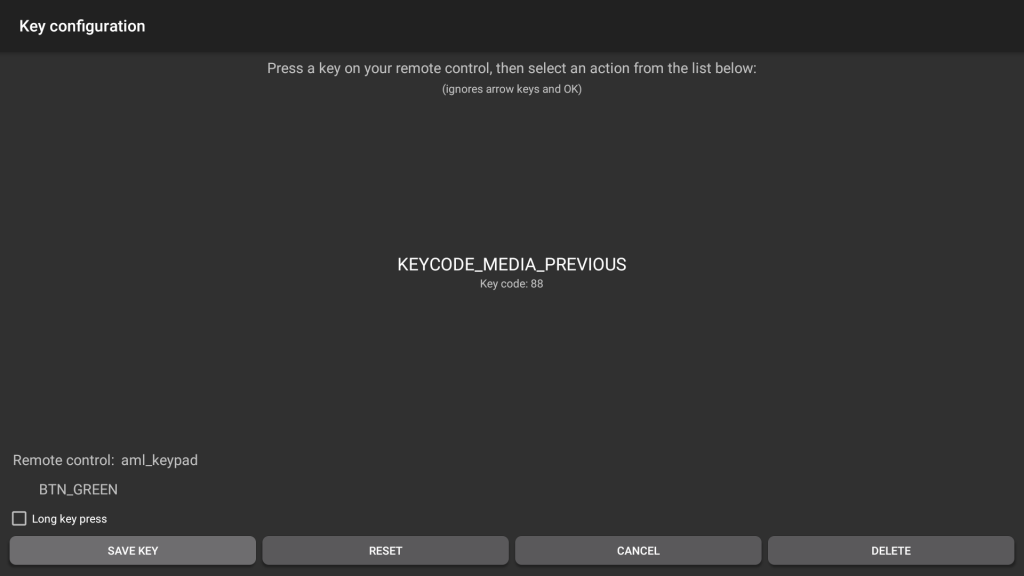
(4) Press the key you want to map
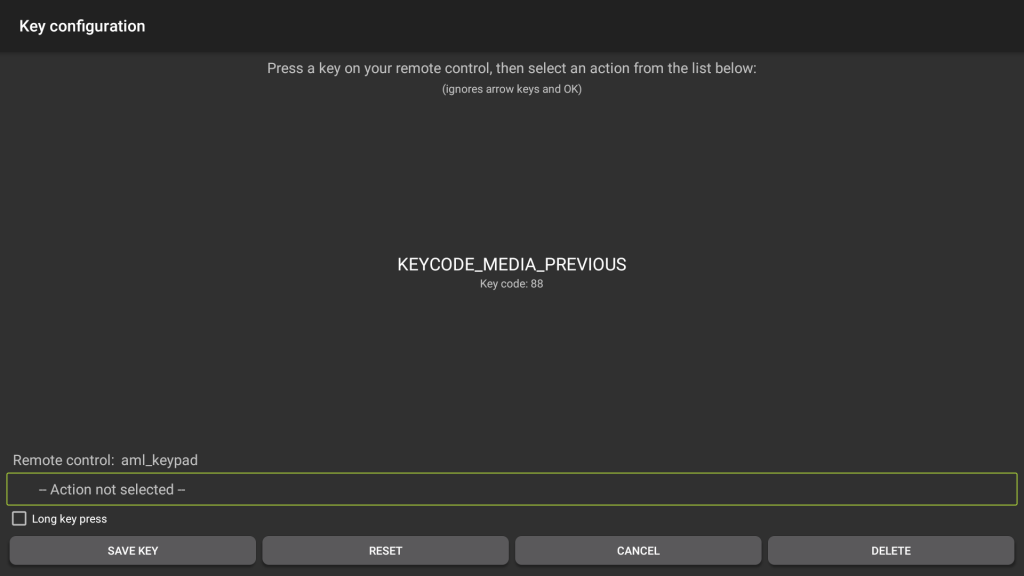
Press the key on the remote control that you want to map. In our example, we use the ⏮ PREV key. The recognized keycode name and value are then displayed at the center of the screen. Now press OK to select an action to be mapped to the key.
(5) Choose a mapped action
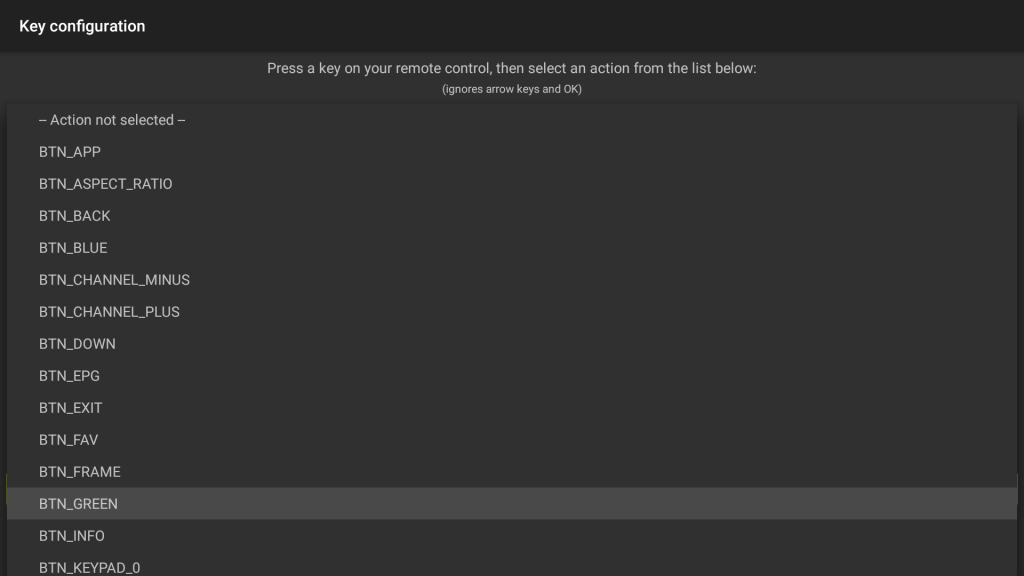
Use DOWN to highlight an action to be mapped to the key. In our example, we want to map it to BTN_GREEN (the green button). Then press OK.
(6) Choose Save Key
Use DOWN to highlight SAVE KEY, then press OK.
(7) Verify your mapped key

The newly mapped key is now displayed. Use BACK to back all the way out of Settings.
(8) Mapped key now in effect (END)
The mapped key is now in effect. If you press PREV, it will trigger the green button function (sort options).